
Une bague sur mesure peut cocher chaque case d'un cahier des charges et, une fois portée, sembler malgré tout ne pas convenir. La pierre centrale peut afficher le carat demandé, les pierres latérales peuvent présenter les formes demandées, et l'anneau peut techniquement correspondre au dessin validé. Pourtant, la bague terminée peut paraître plus large, plus haute, plus massive ou moins dégradée que ce que l'acheteur avait imaginé.
Ce n’est pas toujours un défaut de fabrication, et ce n’est pas la preuve que l’acheteur a été négligent. Il s’agit souvent d’un échec de validation : des caractéristiques individuelles ont été discutées, mais leurs relations n’ont jamais été testées à l’échelle réelle. Un rendu de perspective soigné peut faire paraître gracieuse une large composition à cinq pierres. Une photographie rapprochée peut faire paraître énorme une pierre modeste. Une véritable vue de côté, qui aurait révélé la hauteur, peut n’avoir jamais été demandée. L’alliance peut avoir été traitée comme une décision future, même si le panier de la bague de fiançailles détermine déjà son ajustement.
Le test de pause de 60 secondes avant validation
Si l’une des réponses ci-dessous est « Je ne sais pas », le design est peut-être prometteur, mais il n’est pas prêt pour une validation finale.
- Quelles sont la longueur, la largeur et la profondeur exactes de la pierre centrale en millimètres ?
- Quelle est la largeur et la longueur totales du design complet, depuis les pierres les plus externes ou les bords de métal ?
- Ai-je vu ce contour à l’échelle réelle sur ma propre main ?
- Les pierres centrales et latérales sont-elles volontairement graduées, avec leurs dimensions indiquées ?
- Quelles seront la largeur et l’épaisseur de l’anneau après la coulée, le sertissage et le polissage final ?
- Ai-je examiné une véritable vue de côté et une vue de dessous, et pas seulement un beau rendu en perspective ?
- Quelle est la hauteur de la bague, depuis le plan côté doigt jusqu’à son point le plus haut ?
- L’alliance prévue a-t-elle été modélisée à côté de la bague de fiançailles ?
- La taille des griffes, la largeur du bézel, la protection des pointes et le support de galerie ont-ils été précisés ?
- Ma validation est-elle liée à une version CAO datée et à une liste écrite des dimensions ?
Cette liste de contrôle est volontairement plus précise que « Est-ce que la CAO est belle ? » Une bague rendue flotte sur un écran, sans poids, pression du doigt, tissu, bagues adjacentes ni sensation fiable de l’échelle. La validation doit transformer cette image séduisante en décisions mesurables.
D’abord, identifiez le type de regret que vous cherchez à éviter
Regret de spécification
La bague finie respecte les dimensions validées, mais la taille de pierre choisie, la relation entre les pierres latérales, la largeur de l’anneau ou l’envergure globale ne correspond pas aux préférences du porteur. Le remède est un meilleur test d’échelle avant validation.
Regret de traduction
L’image de référence, la demande verbale et la CAO ne signifiaient pas la même chose pour tout le monde. « Délicat », « bas », « fuselé » et « vintage » ont été employés sans dimensions ni référence visuelle annotée.
Regret de style de vie
La bague est magnifique, mais elle accroche les vêtements, tourne sur le doigt, appuie sur les doigts voisins, monte trop haut pour porter des gants ou crée un espace inattendu à côté de l'alliance.
Cette distinction est essentielle, car la solution diffère. Un problème de proportions ne se règle pas en affinant légèrement les pointes des griffes. Un design bien proportionné ne devient pas compatible avec des gants en changeant la couleur de la pierre centrale. Un acheteur qui comprend l'origine exacte de son doute peut demander une seule révision ciblée au lieu de remettre en question chaque choix créatif.
Le carat n'est pas la taille que l'on voit
L'une des erreurs les plus fréquentes en matière de bague sur mesure consiste à valider un nombre de carats sans valider les dimensions physiques de la pierre. Le guide du carat de la GIA énonce la distinction essentielle : le carat mesure le poids, pas la taille. Deux pierres de même poids peuvent répartir cette matière différemment. L'une peut avoir plus de profondeur sous la ceinture ; l'autre peut présenter une longueur et une largeur plus importantes vues de dessus.
Pour une pierre ronde, examinez le diamètre minimum, le diamètre maximum et la profondeur. Pour une ovale, une poire, une marquise, un coussin, une taille émeraude, un cerf-volant ou un hexagone, notez longueur × largeur × profondeur. Ajoutez le rapport longueur/largeur pour les formes allongées. Une ovale de 9 × 6 mm et une ovale de 8 × 6,5 mm peuvent sembler très différentes même si leurs poids sont proches : la première paraît plus longue et plus élancée ; la seconde paraît plus large et plus ronde.
Le matériau de la gemme compte aussi. Des carats égaux entre diamant, saphir, moissanite et autres gemmes ne garantissent pas des dimensions égales, car la densité et les choix de taille diffèrent. Un pavillon profond peut également forcer le sertissage à monter plus haut. Cette profondeur cachée affecte le confort et le dégagement de l'alliance, même si elle ne contribue en rien à la couverture du doigt vue de dessus.

Comment tester l'échelle vue de dessus sans équipement coûteux
Commencez par découper une forme en papier aux dimensions exactes en millimètres, puis placez-la sur un anneau d'essai simple. Le papier ne peut pas montrer l'éclat ni le volume du sertissage, mais il révèle si le contour paraît modeste, équilibré ou imposant. Vérifiez que l'imprimante est réglée sur 100 %, puis mesurez l'échelle imprimée avec une règle. Une capture d'écran collée dans un document sans calibration n'est pas à taille réelle.
Une bague d'essai bon marché est plus instructive, car elle ajoute de la hauteur et un anneau en trois dimensions. Fiez-vous aux dimensions en millimètres, pas seulement à l'équivalent en carats indiqué par le vendeur. Portez-la plusieurs jours ordinaires. Regardez-la en tapant au clavier, en vous habillant, en conduisant et en tenant une tasse. Le but n'est pas de décider si la pierre d'imitation est belle. Il s'agit de savoir si cette enveloppe physique a sa place dans votre quotidien.
Les photos prises au téléphone demandent de la vigilance. Un objectif grand-angle tenu près de la main agrandit l'objet le plus proche et peut faire dominer la pierre centrale. Reculez et utilisez une focale plus longue ou une vue modérée en 2× si votre appareil le permet. Photographiez la main de dessus, de côté et à une distance de conversation normale. Une bague qui semble parfaite en macro peut sembler très différente vue à bout de bras.

Étude de cas : la taille vue de face ne représente que la moitié du solitaire
Le profil du solitaire ovale Lumiere est utile car sa conception ouverte permet d'isoler facilement plusieurs variables. La longueur et la largeur visibles de l'ovale déterminent la vue de dessus. Sa profondeur et son panier déterminent la hauteur. L'anneau étroit modifie la taille perçue du centre et peut affecter l'équilibre. Valider seulement « ovale 2,0 ct sur un anneau fin » laisserait ces trois relations sous-définies.
Les proportions de la main sont une information, pas une règle esthétique
Les conseils qui associent une forme de pierre aux « doigts courts » et une autre aux « mains larges » sont trop rigides pour un travail sur mesure. Le but n'est pas de corriger une main. Il s'agit de comprendre la relation que la personne qui porte la bague apprécie. Certains acheteurs veulent une pierre allongée pour prolonger la ligne du doigt. D'autres préfèrent un cluster large à l'allure architecturale. Les deux peuvent être intentionnels.
La taille de bague seule ne décrit pas la surface disponible. Deux personnes qui portent la même taille peuvent avoir des largeurs de doigts, des proéminences d'articulation, des longueurs de doigts et des effilements différents. Une main avec une articulation plus marquée et une base de doigt étroite peut nécessiter des solutions d'ajustement qui influencent la rotation. Une tête large sur un anneau étroit peut tourner même lorsque sa vue de dessus semble bien proportionnée. La longueur et la forme des ongles modifient aussi le cadre visuel d'une semaine à l'autre ; il faut donc les considérer comme un contexte de préférence, et non comme une mesure permanente.
Notez la largeur du doigt à l'endroit où repose la bague et comparez-la à l'envergure totale du design. Ce ratio n'est pas une norme de classification du secteur et il n'existe pas de pourcentage « correct » universel. C'est simplement un moyen reproductible de comparer les options. Si un design couvre 12 mm et un autre 17 mm sur le même doigt, la différence numérique explique pourquoi l'un semble discret et l'autre occupe la majeure partie de la largeur disponible.
Ne demandez un rendu porté que lorsqu’il est calibré sur une mesure connue. Une main générique de mannequin est utile pour l’ambiance, pas pour la proportion exacte. La version la plus fiable utilise une photographie de face de la main du porteur avec une règle ou un objet connu dans le même plan que le doigt. Même dans ce cas, confirmez avec un gabarit physique ou un prototype, car la perspective et le zoom de l’écran peuvent induire en erreur.
Les pierres latérales peuvent modifier la bague plus que la pierre centrale
Une discussion récente très suivie à propos d’une bague cinq pierres sur mesure a mis en lumière un problème récurrent : l’acheteur avait reçu les éléments demandés, mais l’arrangement complet paraissait massif plutôt que dégressif. La question centrale n’était pas de savoir si cinq pierres étaient présentes. Il s’agissait de savoir si le centre, les côtés intérieurs et les côtés extérieurs formaient une hiérarchie délibérée.
Dans un modèle à cinq pierres, notez les dimensions vues de face des cinq pierres. N’acceptez pas « petites poires sur les côtés » comme spécification. Un ovale central de 9 × 6 mm avec deux poires latérales de 5 × 3 mm et deux ronds de 2,2 mm crée un rythme différent du même centre entouré de quatre pierres proches de 4 mm. Le second arrangement peut couvrir davantage la largeur du doigt et produire un mur continu d’éclat. Cela peut être magnifique, mais ce n’est pas la même idée visuelle.

Examinez ensemble le contour, l’espace et l’angle
La taille ne représente qu’une partie de la dégressivité. La forme et l’angle des pierres latérales déterminent la transition du groupe vers le corps de la bague. Des poires pointées vers l’extérieur créent une direction. Des trapèzes peuvent former une épaule architecturale nette. Des accents marquise peuvent évoquer des feuilles. Des pierres rondes adoucissent le bord. Si les pierres latérales s’inclinent fortement vers le bas, le rendu du dessus peut en masquer une partie tandis que la bague finie paraît toujours large sous un certain angle.
Demandez si les pierres se touchent visuellement, se chevauchent en perspective ou laissent un espace négatif délibéré. De très petits espaces peuvent disparaître une fois les griffes ajoutées. De très grands espaces peuvent donner l’impression d’un groupe déconnecté. Demandez un rendu vu de face montrant le métal réel des griffes ou du serti clos, et non des pierres flottant sans leur structure de maintien.

Étude de cas : validez la séquence, pas « cinq pierres »
La composition dégradée à cinq pierres Lyra part d'un centre ovale vers des pierres latérales intérieures en poire et des pierres extérieures rondes plus petites. Le point pédagogique réside dans la séquence : dominance du centre, transition directionnelle, puis finition sobre vers le jonc. Lors d'une commande de bagues de fiançailles trois pierres ou de variantes à cinq pierres, listez chaque dimension de pierre et l'envergure totale plutôt que de valider le nom de la catégorie.
La largeur du jonc n'est pas un seul chiffre
« Faites le jonc à 2 mm » semble précis jusqu'à ce que la bague présente un jonc effilé, un pavage, une gravure ou des épaules sculptées. Où mesure-t-on ces 2 mm : à la base, à côté de la tête ou à l'endroit le plus étroit de l'effilement ? Le chiffre décrit-il le CAO avant finition ou la dimension finie souhaitée ? Quelle est l'épaisseur verticale ? Un jonc peut paraître délicat vu de dessus tout en semblant substantiel entre les doigts adjacents, ou paraître large tout en restant fin et vulnérable de profil.
Demandez la largeur et l'épaisseur à au moins trois positions : le bas du jonc, le point médian et l'épaule près de la tête. Si le jonc s'effile, validez où l'effilement commence et à quelle vitesse il se rétrécit. Une transition brutale peut faire paraître la pierre centrale surdimensionnée ou les épaules pincées. Un effilement progressif crée un flux visuel différent.
La coulée, le nettoyage, le sertissage et le polissage transforment la surface de la CAO. La bonne question n'est pas « Le polissage va-t-il l'affiner ? » Il retirera effectivement du métal. La bonne question est « Quelles dimensions finies vous engagez-vous à respecter après toutes les étapes de finition ? » Le fabricant doit concevoir les tolérances de production en fonction de l'alliage et du procédé choisis. Les acheteurs n'ont pas besoin de dicter ces tolérances, mais ils ont besoin d'un objectif fini.
La largeur influe aussi sur la stabilité. Un jonc très fin sous un ensemble large ou un centre profond peut laisser la tête pivoter, en particulier sur des doigts effilés. Augmenter légèrement la largeur au bas, modifier le profil intérieur ou utiliser des dispositifs de mise à taille peut améliorer l'équilibre sans alourdir la vue de dessus. Discutez de la rotation avant la production plutôt que de supposer qu'une taille serrée est la seule solution.
Une validation CAO nécessite six vues
Un rendu en perspective est conçu pour rendre un objet tridimensionnel attrayant et compréhensible. Ce n'est pas la meilleure vue pour chaque mesure. La perspective modifie l'échelle apparente : les objets plus proches de la caméra virtuelle paraissent plus grands, les lignes parallèles convergent et les pierres latérales peuvent partiellement se cacher derrière le centre. Une revue CAO correcte de bague de fiançailles doit inclure des vues qui éliminent ces distorsions.

| Vue requise | Ce qu'elle révèle | Problème caché fréquent |
|---|---|---|
| Vue de dessus réelle | Contour général, envergure totale, symétrie, écarts entre les pierres, métal visible et effilement du corps de bague | Une vue en perspective a fait paraître la pierre centrale plus dominante qu'elle ne l'est |
| Vue de côté réelle | Hauteur totale, profondeur du pavillon, emprise du panier, pont et saillie des griffes | Une belle vue de dessus masque une tête haute ou volumineuse |
| Vue de trois quarts | Comment les structures du dessus et du côté se raccordent ; visibilité des halos cachés et des galeries décoratives | Les accents latéraux se chevauchent ou paraissent surchargés sous les angles de vue habituels |
| Vue de dessous | Support de galerie, ouvertures de nettoyage, dégagement de la culasse et arêtes intérieures | Des liaisons fragiles ou des zones qui retiennent les résidus restent invisibles |
| Échelle portée | Couverture du doigt et rapport à la main de la personne qui porte la bague | Le zoom à l'écran supprime toute notion de taille physique |
| Association avec l'alliance | Affleurement, écart intentionnel, points de frottement et exigences de contour | L'alliance future entre en collision avec le panier ou les pierres d'accent |
Demandez des cotes annotées sur les vues orthographiques de dessus et de côté. Indiquez au minimum les dimensions de la pierre centrale, l'envergure totale de la tête, la hauteur totale, la largeur et l'épaisseur finies du corps de bague, ainsi que le dégagement disponible pour l'alliance. Si la bague comporte de petits détails répétés, identifiez leur épaisseur finie minimale plutôt que de les juger uniquement d'après la couleur du rendu.
Dans une CAO de production, les griffes peuvent être représentées avant leur mise en forme et leur sertissage définitifs ; elles peuvent donc paraître plus massives que ne le seront les pointes polies. Cela ne signifie pas que l'acheteur doit les ignorer. Demandez à voir le style et l'orientation finis prévus des griffes sur une photographie représentative : arrondies, en griffe, double griffe, à onglet ou en V. Une expression comme « griffes délicates » reste subjective tant qu'elle n'est pas reliée à un exemple visuel et à des dimensions structurelles appropriées.
Hauteur, accrochage et ajustement de l'alliance relèvent de la même validation
De nombreux acheteurs examinent d'abord la vue de dessus, car c'est ainsi qu'une bague est habituellement photographiée. Le contact quotidien, lui, se fait en trois dimensions. La hauteur totale influence le moment où la bague rencontre une couture de poche, un gant, le bord d'un bureau ou un objet proche. La masse de la tête et la géométrie du corps de bague influencent la rotation. La largeur du panier et la hauteur du pont déterminent si une alliance droite peut s'approcher du corps de la bague de fiançailles.
Profil bas et montage affleurant ne sont pas synonymes. Abaisser une pierre profonde peut placer son panier directement contre l'anneau, bloquant une alliance droite. Relever une tête peut créer un dégagement, mais une galerie inférieure large peut encore provoquer une collision. La relation exacte est détaillée dans ce guide sur la hauteur de bague de fiançailles et le dégagement de l'alliance. Pour la validation personnalisée, l'étape importante est d'inclure la largeur et l'épaisseur de l'anneau prévu dans le même fichier.
Décidez si le résultat souhaité est une alliance affleurante droite, un petit espace intentionnel, un anneau contour, un chevron ou un anneau ouvert. Aucun n'est universellement supérieur. Un espace régulier peut protéger deux anneaux du frottement. Un contour peut préserver un montage bas. Une tête surélevée adaptée au wed-fit peut soutenir un empilement droit. Le regret vient de découvrir le compromis une fois que la bague de fiançailles a déjà fixé la géométrie.

Étude de cas : valider la poire et son alliance comme un seul ensemble
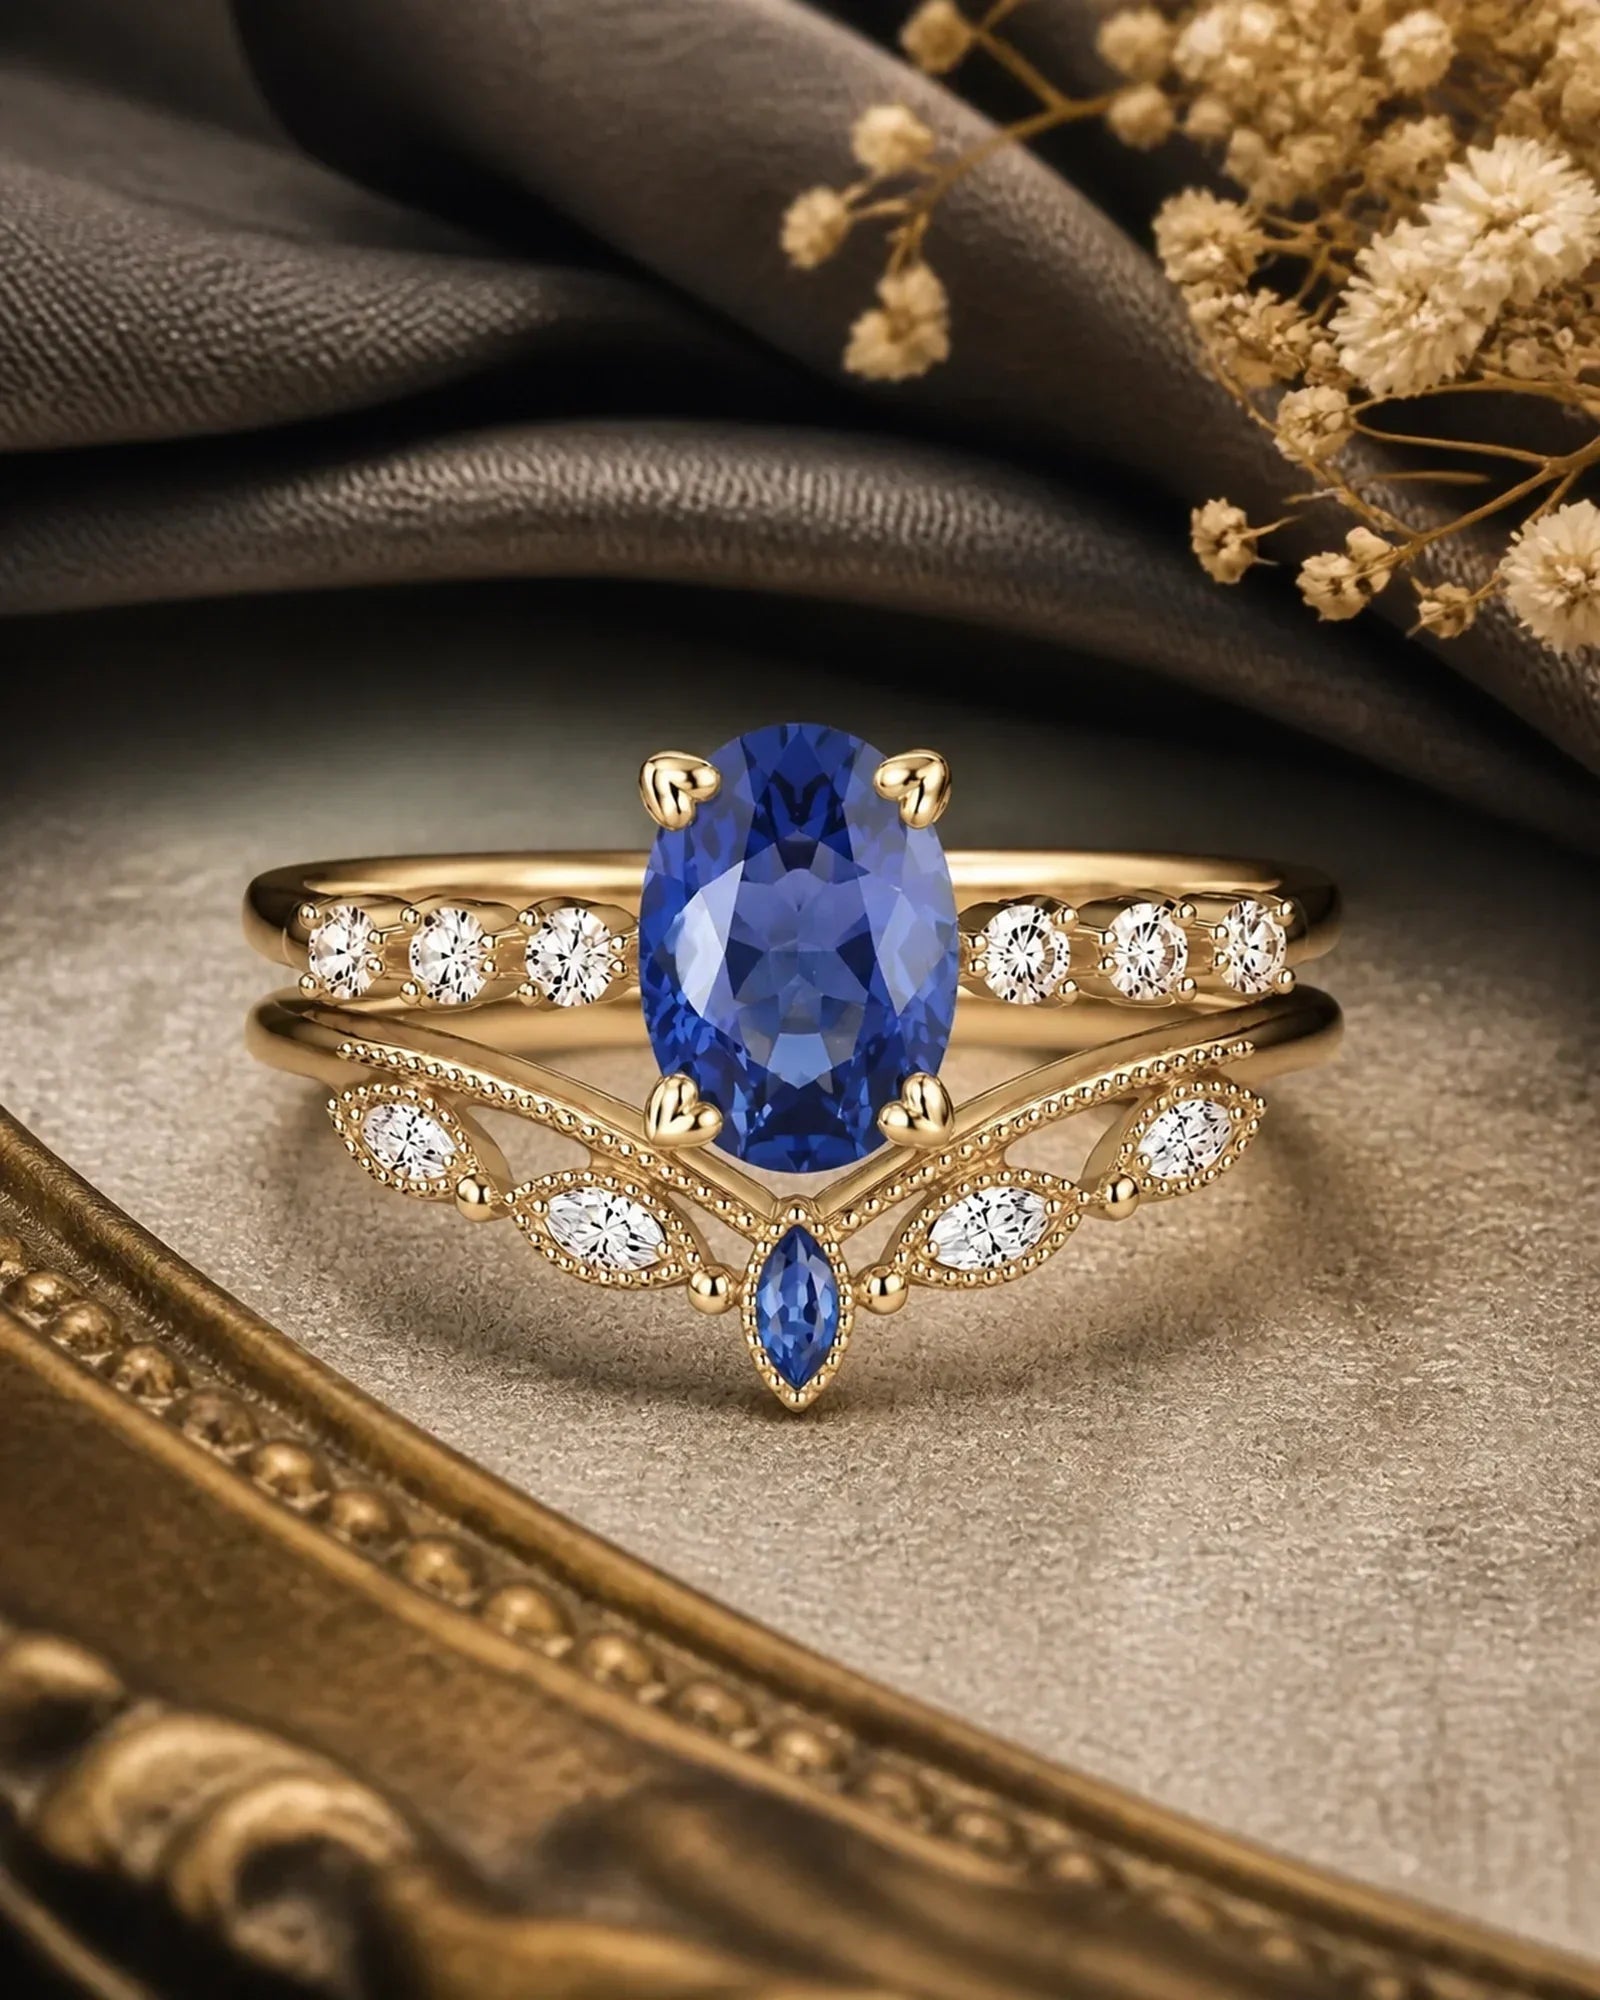
Le parure bague saphir poire Selira montre pourquoi un centre bas à cadre pointu et son alliance assortie doivent être examinés ensemble. La poire nécessite une protection intentionnelle de sa pointe, tandis que l'alliance suit le contour de la bague de fiançailles au lieu de prétendre que chaque tête accepte un empilement droit. Comparez les parures de bagues de mariage complètes lorsque la silhouette finale compte autant que la bague de fiançailles seule.
Validez le métal autour de la pierre, pas seulement la pierre
L'image d'une gemme non sertie montre la couleur, les inclusions et la taille à facettes. Elle ne montre pas quelle part du contour restera visible après le sertissage. Un bézel ajoute un liseré continu ou partiel. Les griffes couvrent des points choisis. Un halo élargit l'empreinte totale. Le milgrain ajoute de la texture et une largeur apparente. Ces choix peuvent donner au centre fini une impression plus grande, plus petite, plus nette, plus douce, plus moderne ou plus ancienne.
L'aperçu des montages de bagues de fiançailles du GIA explique que les montages maintiennent la pierre et offrent différents degrés de protection. Pour la validation personnalisée, marquez les points et coins vulnérables sur la forme exacte. Une pointe de poire ou de marquise nécessite une solution de protection ajustée. Un coin de taille émeraude ne doit pas dépendre d'une position de griffe ronde générique. Une gemme naturelle avec inclusions peut exiger qu'un sertisseur travaille autour de caractéristiques internes spécifiques.
Demandez la largeur du rebord du chaton en vue de dessus et le positionnement des griffes en vues de dessus et de côté. Confirmez si la couleur du métal doit se fondre avec le bord de la pierre ou créer un contraste. Vérifiez l'accès au nettoyage sous les gemmes transparentes. Pour une comparaison plus approfondie, consultez ces différences entre serti clos et serti à griffes avant de figer la tête de bague.

Étude de cas : la pierre centrale ne constitue pas le contour complet
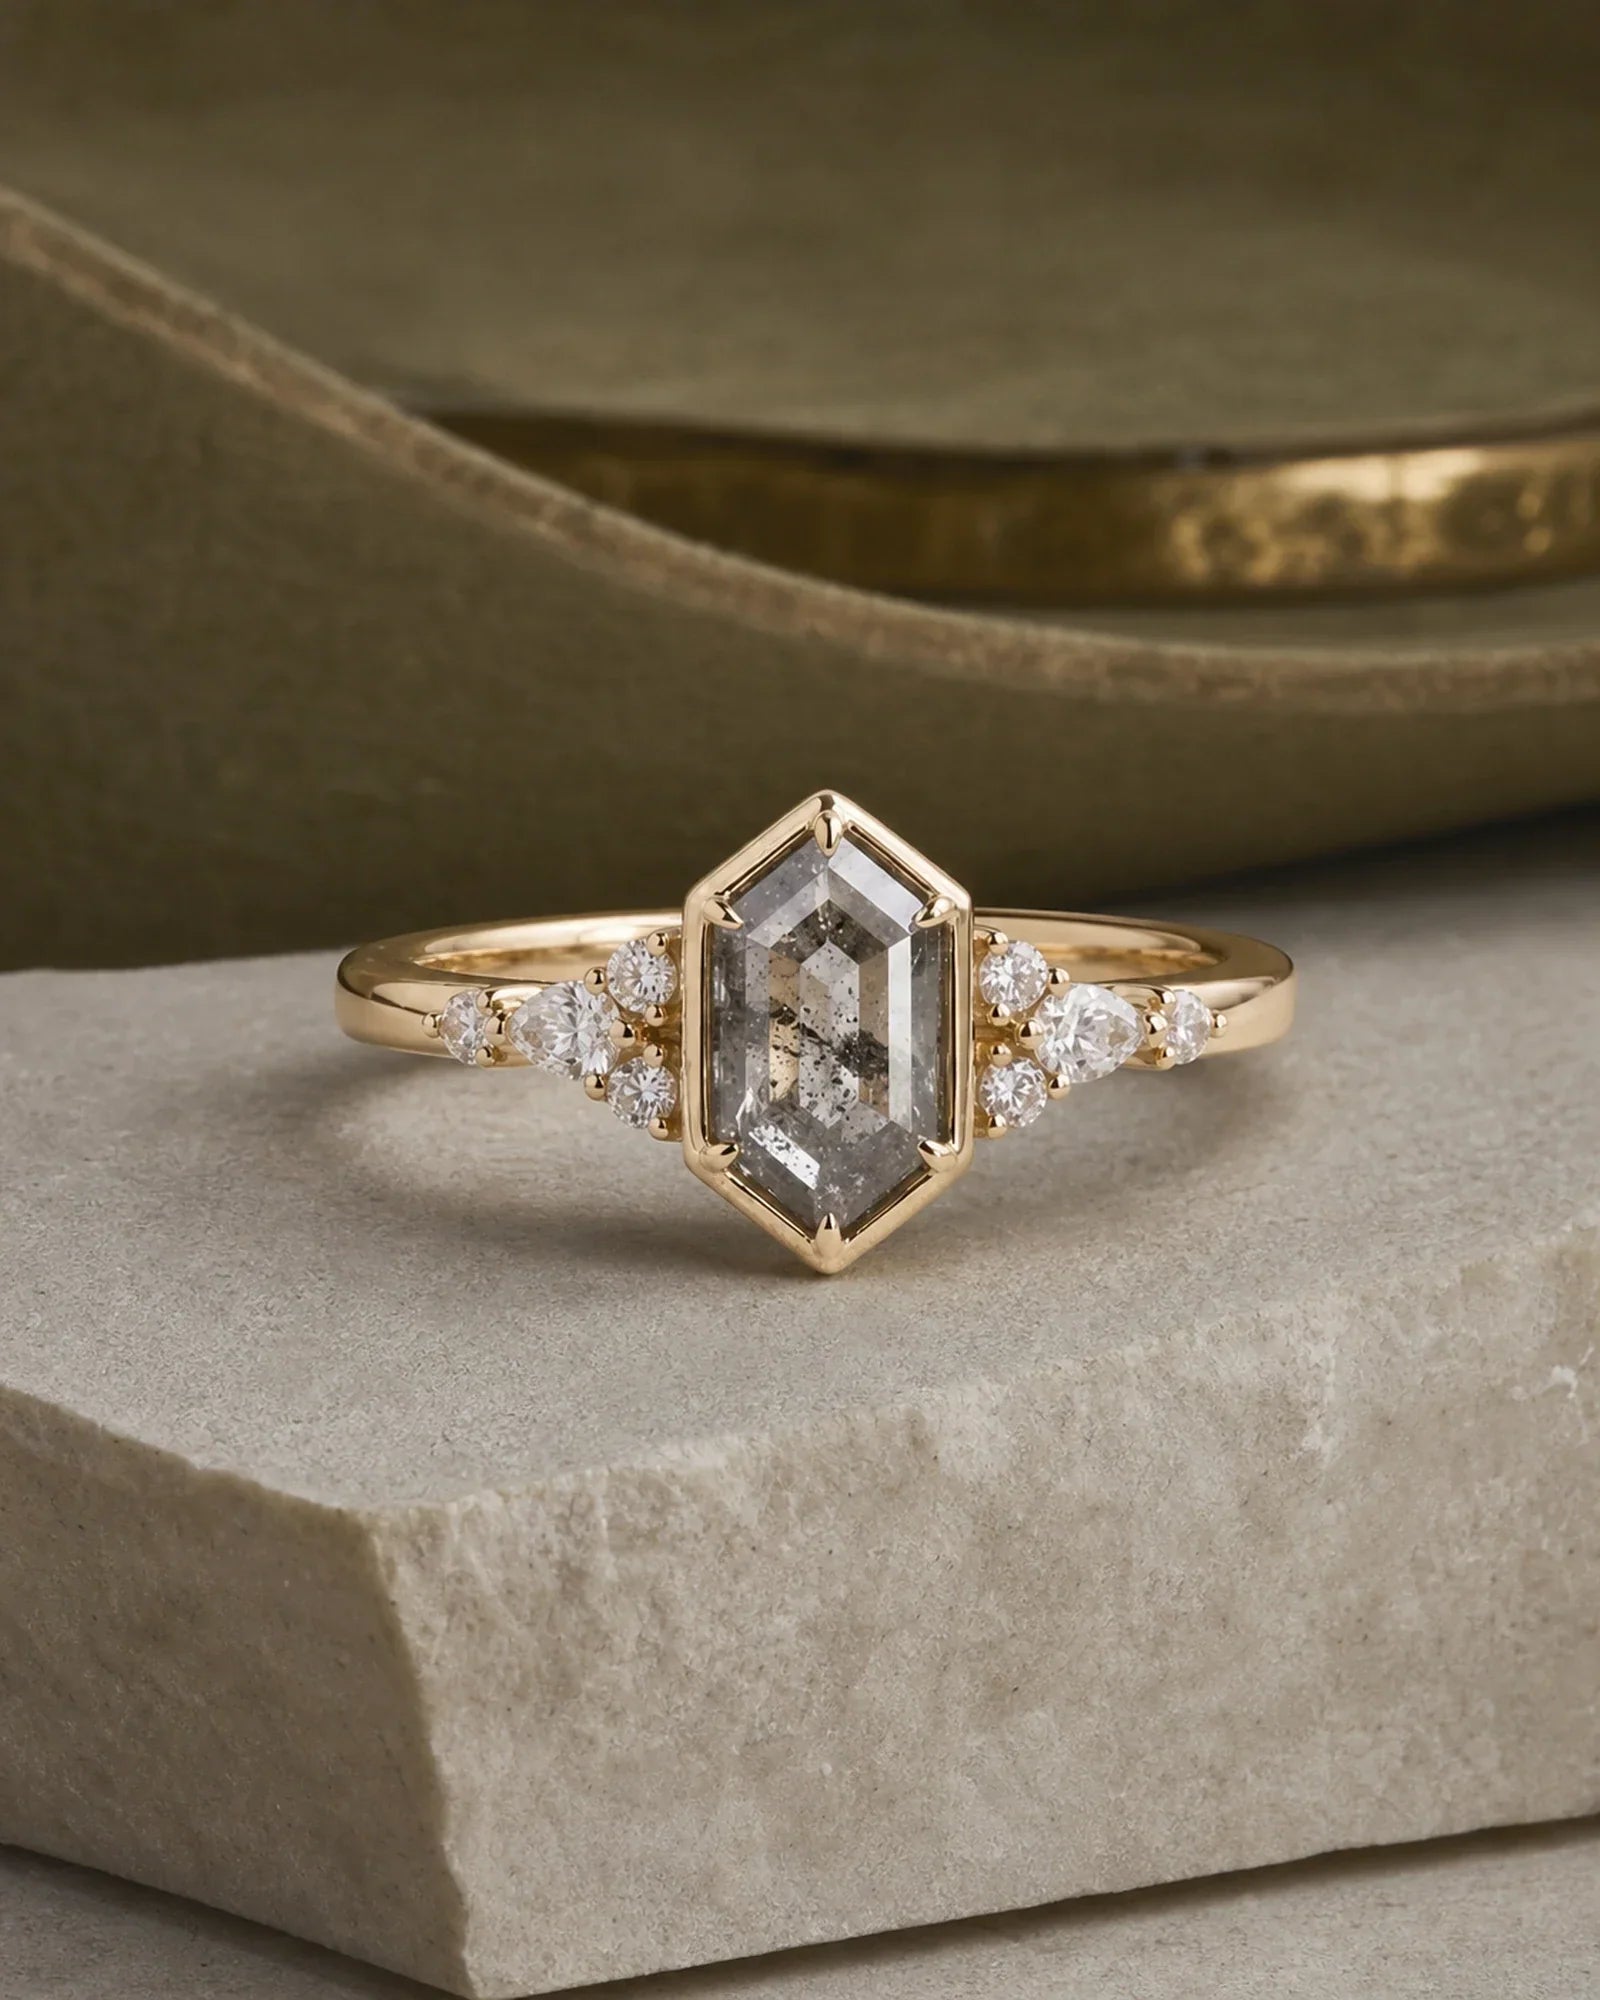
La bague cluster Eryndor à serti clos hexagonal illustre trois ajouts à la taille vue de dessus : le bord métallique ajusté, la géométrie angulaire et les pierres d'épaule à gradation. L'acheteur doit valider l'envergure extérieure totale et l'épaisseur du serti clos, et non les déduire des dimensions de la pierre centrale seule. C'est particulièrement important dans les créations de bagues de fiançailles uniques, où les hypothèses de sertissage standard décrivent rarement la silhouette finale.
Un prototype physique répond à des questions qu'un rendu ne peut pas résoudre
Un modèle en résine ou en cire ne permet pas de prévoir la couleur de la gemme ni le poli final, et les griffes fines peuvent paraître émoussées avant le sertissage du métal. Son atout, c'est l'échelle physique. Vous pouvez voir jusqu'où s'étend la tête de bague, si le panier appuie contre un doigt adjacent, la hauteur à laquelle la bague ressort et comment l'alliance envisagée s'en approche.
Lors de l'essai d'un prototype, fermez le poing sans forcer, tapez au clavier, glissez lentement la main dans une poche de manteau et observez la bague à bout de bras. Ne soumettez pas un modèle en résine fragile à un impact et ne le forcez pas sous un gant serré. Utilisez-le pour observer la géométrie du quotidien. Si la conception se fait à distance, demandez si le fabricant peut envoyer un modèle imprimé ou fournir une silhouette de dessus cotée et imprimable. Les frais d'expédition coûtent moins cher que la reprise d'une bague sur mesure terminée.
Les bagues d'essai aident aussi à distinguer la préférence de forme du design final. Essayez un solitaire ovale, un cluster large et une bague trois pierres, même si aucun ne correspond aux détails envisagés. Notez la largeur de la tête, la longueur de la pierre et la hauteur du profil. « Ce cluster de 15 mm est trop large, mais ce solitaire de 11 mm paraît discret » donne au créateur des informations plus exploitables que « je veux quelque chose de visible mais de délicat ».
Remplacez « ça rend bien » par un compte rendu de validation
Un message de validation utile identifie le fichier et les décisions qu'il approuve. Il n'a pas besoin de termes juridiques. Il a besoin de précision. Conservez les images finales et les dimensions écrites ensemble, afin que l'acheteur et le fabricant se réfèrent à la même version.
Ce compte rendu met en évidence les informations manquantes avant le début de la production. Si le fabricant ne peut pas confirmer une dimension finie parce que la finition à la main introduit une tolérance raisonnable, demandez la plage attendue et la raison structurelle. La précision ne consiste pas à prétendre qu'un travail artisanal est mathématiquement exact. Elle consiste à s'accorder sur le résultat souhaité et sur les limites qui affectent matériellement l'apparence ou le port.
Conservez les images d'inspiration annotées. Entourez la caractéristique exacte concernée : l'angle de l'épaule, la forme des griffes, la texture du chaton ou l'espacement des pierres. Sans annotation, le designer peut raisonnablement étudier une autre caractéristique de la même photographie. Ne présumez jamais que « faites-le comme ceci, mais avec mes pierres » indique quelles proportions doivent être conservées et lesquelles doivent changer.
Que faire si le doute survient après l'approbation ?
Contactez le fabricant immédiatement, avant même de chercher à déterminer si l'inquiétude est « suffisamment importante ». Demandez à quelle étape de production le travail a commencé, quels matériaux ou quelle main-d'œuvre sont déjà engagés, ce qui peut encore être modifié et quel coût ou quel délai entraînerait une révision. Une question posée à temps est plus facile à gérer qu'une inquiétude silencieuse suivie d'une demande de refabrication une fois la pièce terminée.
Distinguez une préoccupation précise d'une anxiété générale. « L'envergure totale est de 18 mm, et mon gabarit d'essai de 15 mm me semblait déjà trop large » constitue un élément précis. « J'ai regardé trop de bagues et maintenant tout me semble incorrect » peut appeler une courte pause plutôt qu'une refonte. Revenez aux priorités écrites établies avant le CAO : confort au quotidien, forme de la pierre centrale, couverture totale, détail vintage, ajustement avec une alliance droite ou tout autre objectif classé par ordre d'importance.
Ne cherchez pas d'avis publics sans fin une fois que le design répond à vos priorités mesurées. Les photographies en ligne proviennent de tailles de mains, d'objectifs et d'éclairages différents. Les personnes qui commentent optimisent aussi selon leurs propres goûts. Utilisez les retours extérieurs pour identifier les questions que vous avez oubliées, non pour remplacer la décision de la personne qui portera la bague.
La liste de vérification finale pour l'approbation d'une bague sur mesure
- Classez les trois résultats qui comptent le plus et les deux compromis que vous accepterez.
- Confirmez la gemme exacte, la mention du traitement et les dimensions longueur × largeur × profondeur.
- Mesurez l'envergure totale du design en vue de dessus, y compris le halo, le chaton et les pierres latérales.
- Testez cette largeur sur votre main à l'aide d'une forme en papier calibrée, d'une bague d'essai ou d'un prototype.
- Listez chaque dimension des pierres latérales et validez le dégradé et l'angle prévus.
- Validez la largeur et l'épaisseur finies de l'anneau à la base, au milieu et à l'épaule.
- Examinez les vues CAO de dessus, de profil, de trois quarts et de dessous.
- Confirmez la hauteur totale, l'encombrement du panier, le support de galerie et l'accès pour le nettoyage.
- Précisez le style de griffes, la largeur du chaton, la protection des pointes et la couleur de métal visible.
- Modélisez les dimensions réelles de l'alliance et choisissez un ajustement affleurant, avec espace, contour ou ouvert.
- Essayez une maquette physique ou l'échantillon le plus proche disponible en effectuant des mouvements ordinaires de la main.
- Validez une version CAO datée avec un tableau de dimensions écrit et des références annotées.
Utilisez le processus sur mesure pour rendre une bague plus personnelle, non moins vérifiable. Parcourez les bagues de fiançailles sur mesure pour trouver des idées structurelles, puis décrivez ce que vous appréciez dans chaque référence plutôt que de demander une collection de caractéristiques disparates.
Questions fréquentes
Comment vérifier la CAO d'une bague de fiançailles ?
Demandez une vue de dessus, une vue de profil, une vue de trois quarts, une vue de dessous, une vue calibrée portée à la main et la bague alliance prévue à côté. Confirmez les dimensions de la pierre centrale, l'envergure totale, la hauteur totale, la largeur et l'épaisseur finies de l'anneau, les dimensions des pierres latérales, les détails des griffes ou du chaton et la version exacte de la CAO.
Quel est un bon carat pour une bague de fiançailles ?
Il n'existe pas de carat idéal universel. Le carat est un poids, tandis que la taille visuelle dépend de la longueur, de la largeur, de la forme, de la profondeur et du sertissage environnant. Comparez les millimètres exacts vus de dessus sur la main de la personne qui la portera et testez l'encombrement total du design plutôt que de choisir un chiffre à partir d'une moyenne.
Pourquoi ma pierre semblait-elle plus petite ou plus grosse que sur la CAO ?
Le zoom de l'écran, la perspective, l'absence d'échelle par rapport à la main, le métal rendu, la couverture des griffes et les pierres latérales environnantes peuvent tous modifier la perception. La profondeur de la pierre non sertie peut aussi masquer du poids sous la ceinture. Utilisez des dimensions orthographiques et un test à l'échelle physique pour juger la taille.
Quelle largeur doit avoir l'anneau d'une bague de fiançailles ?
La largeur doit soutenir la tête, convenir au confort de la personne qui la portera et créer l'équilibre visuel souhaité. Demandez la largeur et l'épaisseur finies à plusieurs endroits, car un anneau effilé n'a pas une largeur unique. Les anneaux très étroits sous des têtes larges ou lourdes peuvent tourner ou s'user plus rapidement.
Les griffes de la CAO ont-elles la même taille que les griffes finies ?
Pas toujours. Les modèles de production peuvent montrer de la matière supplémentaire avant le nettoyage de la coulée, le sertissage et la mise en forme finale. Demandez le style de griffes finies prévu, une photographie représentative et toutes les dimensions structurelles minimales. Ne validez pas une promesse vague selon laquelle tout le métal visible deviendra simplement délicat.
Ai-je besoin d’une maquette en résine ou en cire ?
Elle est particulièrement précieuse pour les pavages larges, les formes inhabituelles, les montures hautes, les galeries complexes et les bagues assorties à porter ensemble. Une maquette ne peut pas reproduire l’éclat final, mais elle permet de révéler l’échelle physique, la hauteur, la pression sur le doigt et la collision avec l’alliance avant que le métal précieux ne soit terminé.
Combien de temps faut-il pour une bague de fiançailles sur mesure ?
Le délai varie selon la complexité du design, l’approvisionnement des pierres, les révisions du CAO, la validation de la maquette, la fonte, le sertissage et la finition. Demandez un calendrier par étapes et une date limite de validation claire. Ne raccourcissez pas l’étape de validation simplement pour rattraper le temps perdu plus tôt ; approuver des proportions non résolues peut entraîner une reprise bien plus longue.
Puis-je modifier une bague sur mesure après avoir validé le CAO ?
Parfois. La réponse dépend de si les pierres ont été approvisionnées, si une maquette a été imprimée, si le métal a été coulé ou si le sertissage a commencé. Contactez immédiatement le fabricant, identifiez la modification exacte et demandez l’impact sur le coût et le calendrier. Ne supposez pas que le silence soit plus bienveillant une fois qu’un problème connu existe.
Une bague sur mesure doit-elle être affleurante avec une alliance ?
Uniquement si tel est l’objectif de design choisi. Un ajustement droit et affleurant nécessite un dégagement suffisant au niveau du pont et une empreinte de panier compatible. Un contour, un chevron, un anneau ouvert ou un espace intentionnel peuvent mieux préserver une bague de fiançailles basse ou ornée. Validez les deux bagues ensemble.
Que faire si je reçois la bague et qu’elle ne me plaît toujours pas ?
Documentez la bague terminée avec des photographies de dessus et de profil, comparez-la à la version validée et au tableau des dimensions, puis déterminez si le problème relève des spécifications, de la traduction, de la fabrication ou du confort. Contactez le fabricant avant de la modifier ou de la faire remettre à taille ailleurs. Une comparaison précise permet une discussion plus productive sur la réparation ou la refonte.
Validez la bague que vous pouvez imaginer porter, pas seulement le rendu
Les meilleures validations sur mesure ne relèvent ni d’une confiance aveugle ni d’une tentative de contrôler chaque mouvement de l’atelier. Elles reposent sur une clarté partagée. L’acheteur définit les priorités visuelles et teste l’échelle physique. Le designer traduit ces priorités en géométrie mesurable. Le fabricant préserve suffisamment de métal et de support pour la pierre et le mode de vie choisis.
Un CAO peut montrer si la bague est réalisable. Un prototype peut montrer si elle occupe l’espace attendu. Un modèle d’essai peut montrer si cet espace a sa place dans la vie quotidienne. Lorsque ces trois éléments concordent avec un compte rendu de validation écrit, la bague terminée a bien moins de risques de devenir une surprise techniquement correcte.