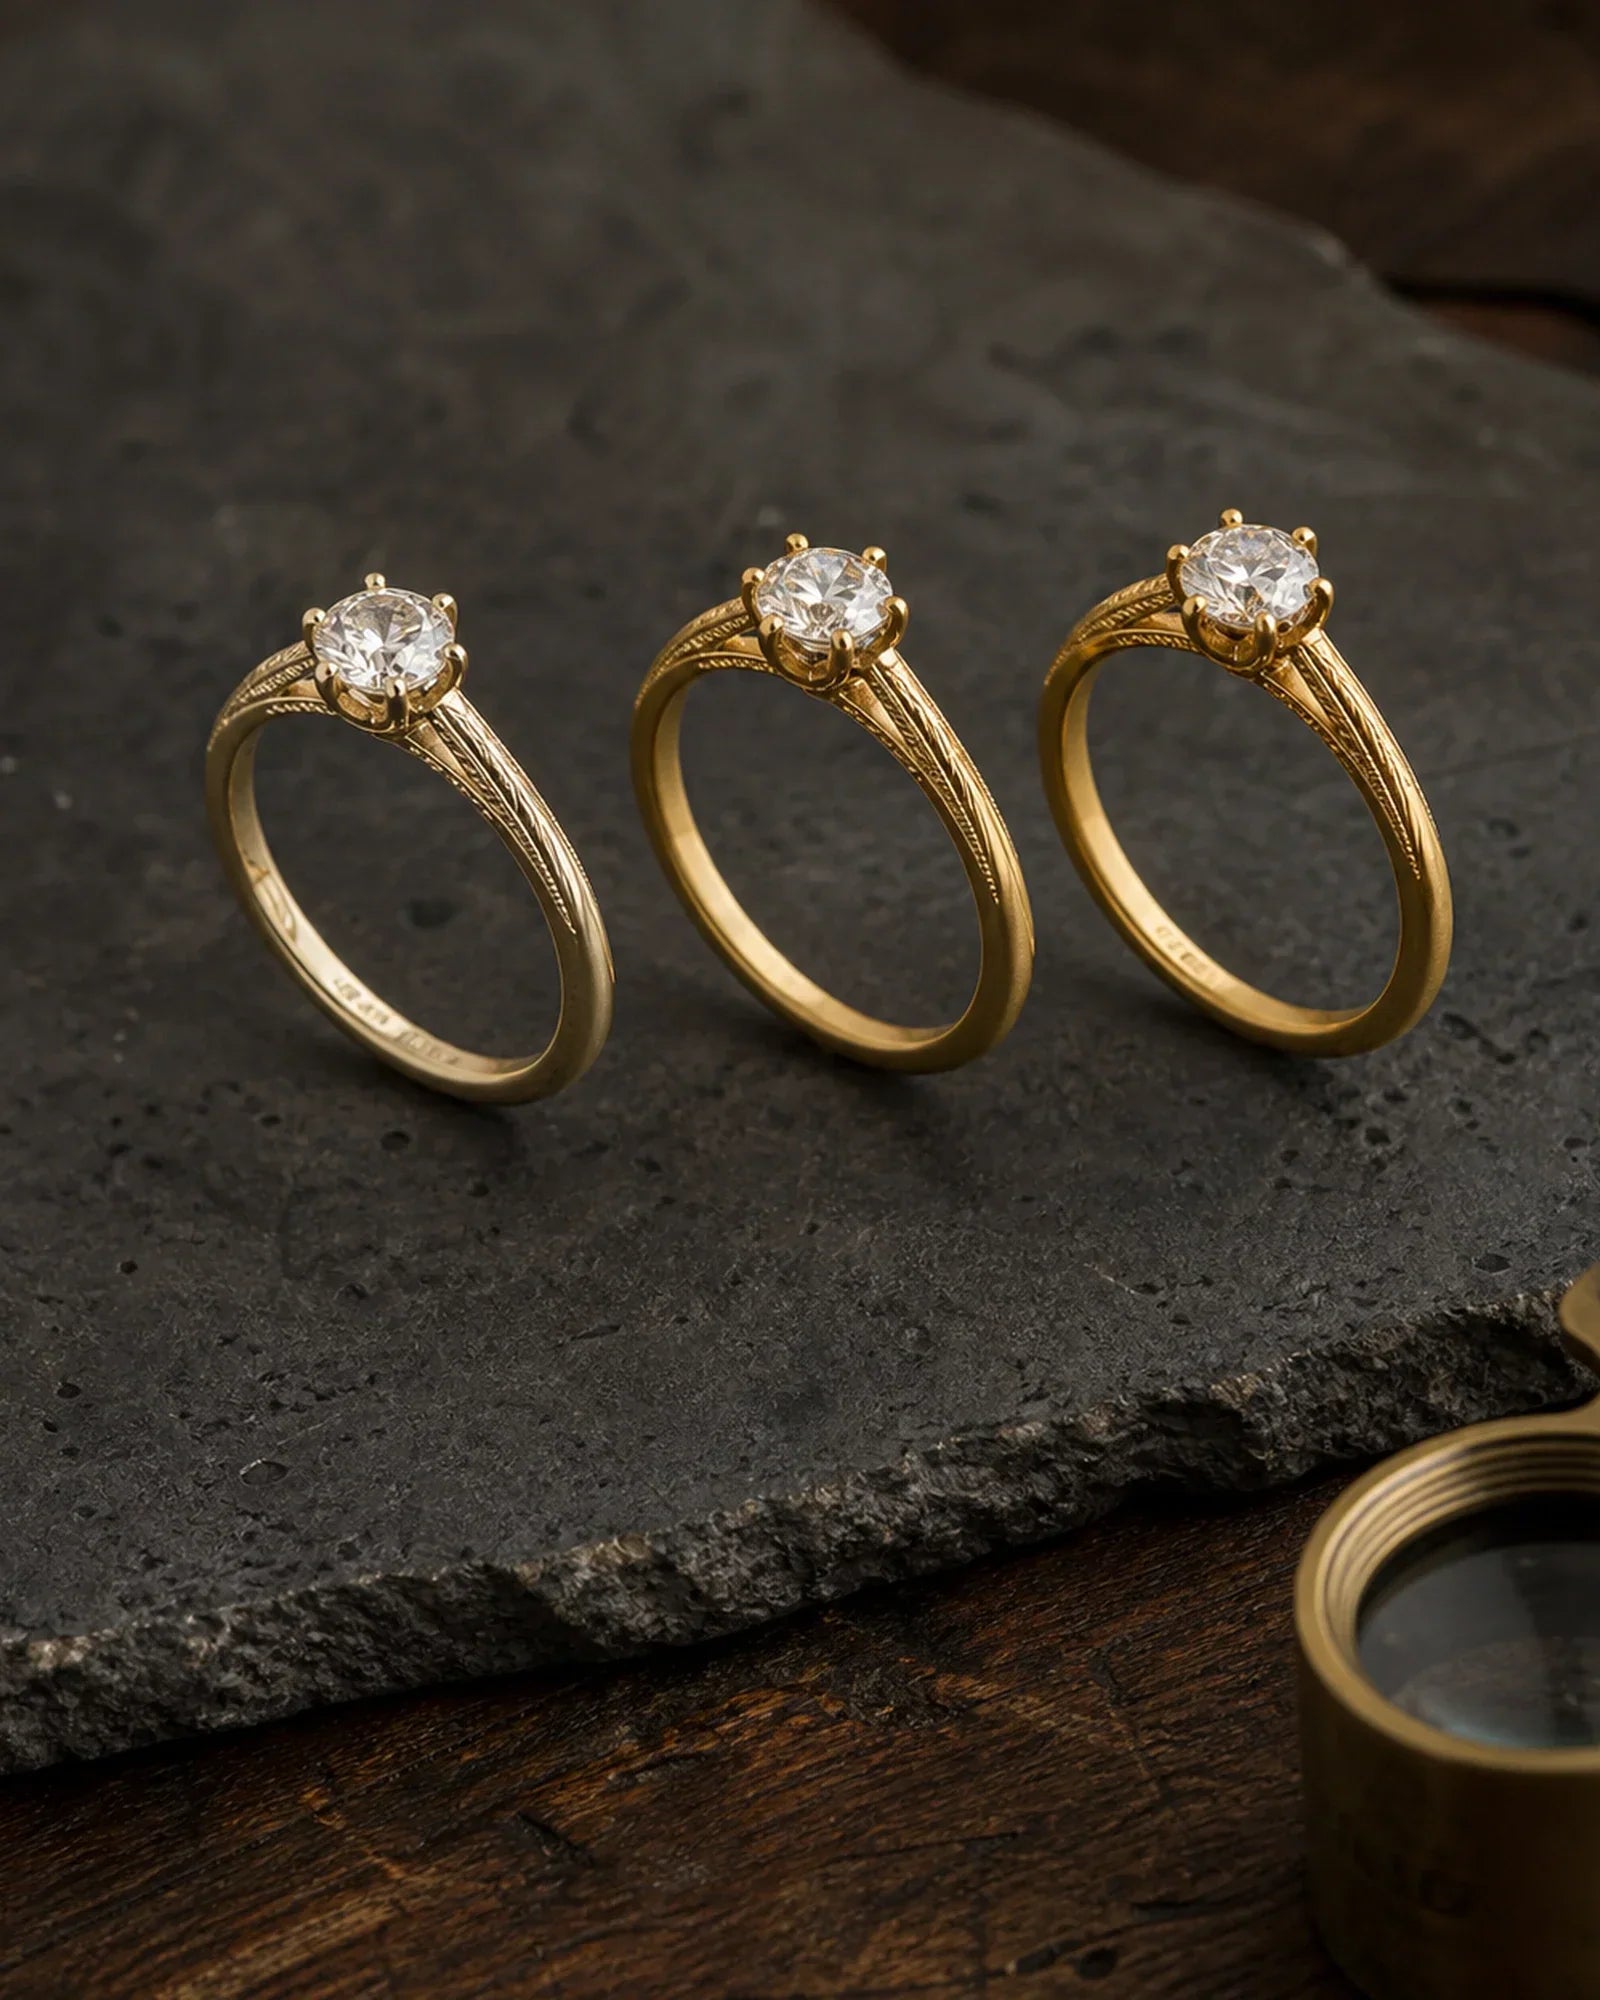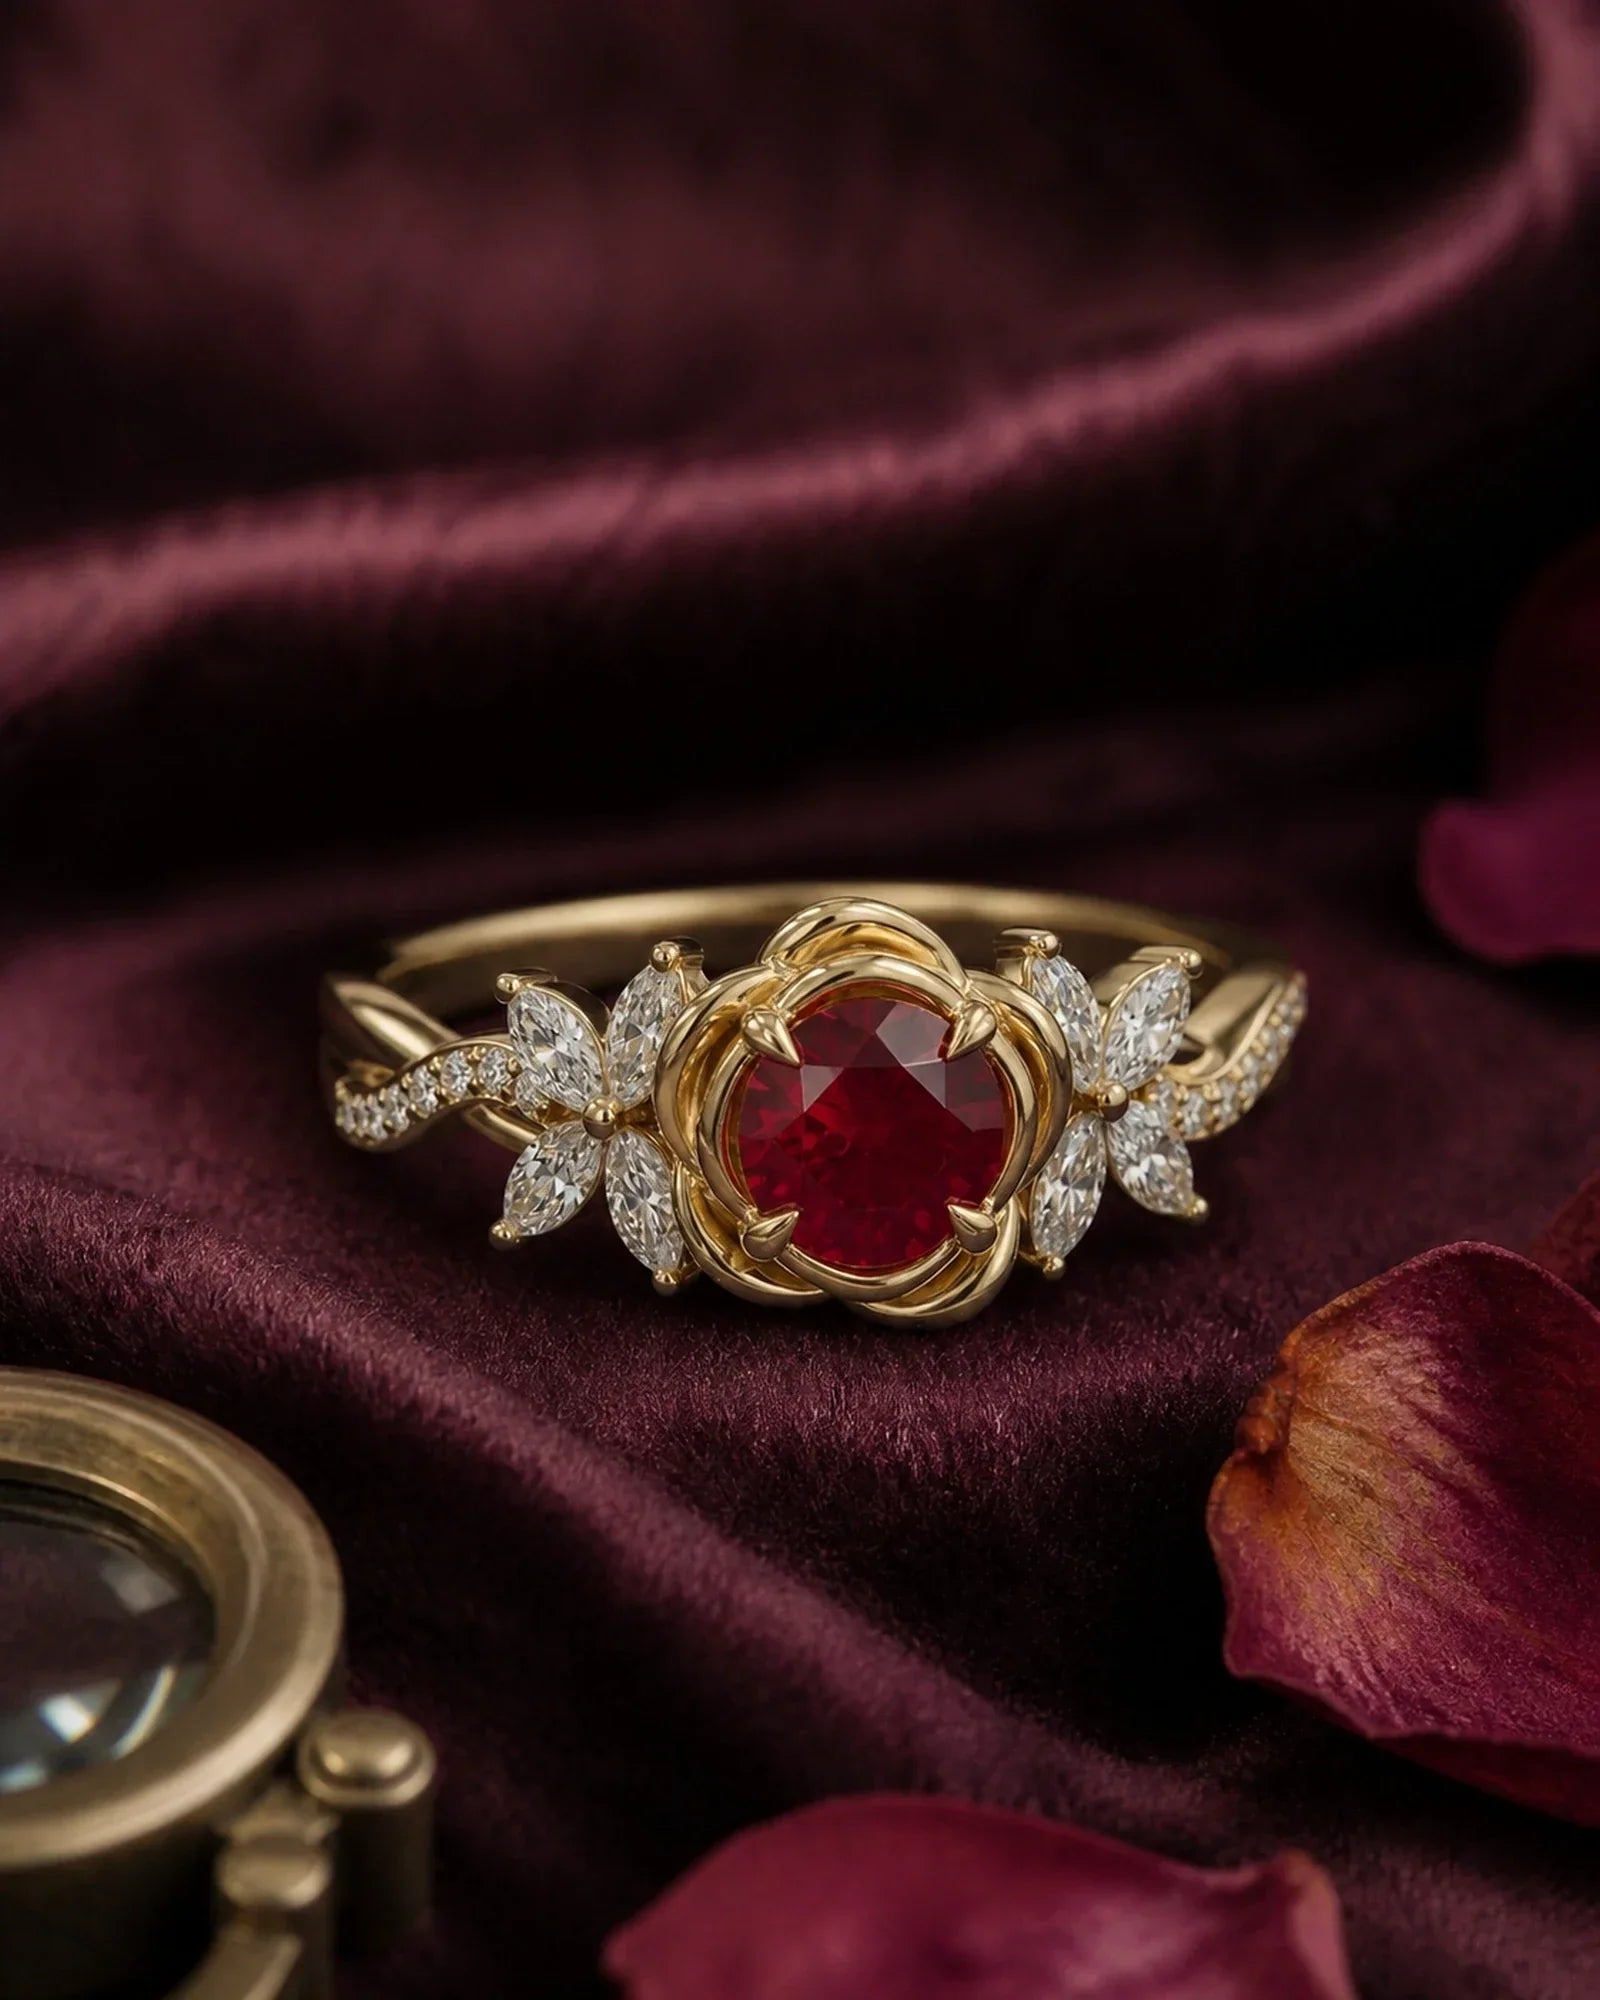

La plupart des gens savent montrer la pierre et l'anneau. La confusion commence sous la pierre, là où quelques millimètres de métal déterminent si une bague de fiançailles paraît basse ou haute, si une griffe peut bouger indépendamment, si une alliance peut se porter près de la bague, et avec quelle facilité la bague peut être nettoyée ou réparée.
Le vocabulaire varie également d’un atelier à l’autre. Un bijoutier peut appeler « galerie » l’ensemble du profil latéral, tandis qu’un autre réserve ce terme à l’espace ouvert et parle de « rail de galerie » pour le support horizontal. Considérez ces noms comme un point de départ, puis confirmez votre demande à l’aide de vues de profil annotées et de dimensions. Le guide GIA des composants d’une bague distingue lui aussi le montage, l’anneau, la tête et les griffes.
L’anatomie d’une bague de fiançailles en 60 secondes
| Élément | Emplacement | Fonction principale | Pourquoi l’acheteur doit s’y intéresser |
|---|---|---|---|
| Tête | L’ensemble supérieur complet autour de la pierre centrale | Réunit les structures qui maintiennent la pierre | Détermine le profil, l’échelle visuelle et la manière dont le montage rejoint l’anneau |
| Panier | Juste sous et autour de la pierre centrale | Berce la pierre et organise ses supports | Influe sur la hauteur, l’accès pour le nettoyage et l’exposition aux chocs |
| Rail de galerie | Un rail horizontal autour du panier, sous la ceinture de la pierre | Relie les griffes et résiste aux mouvements vers l’extérieur | Influence la sécurité, l’apparence latérale et le placement d’un halo caché |
| Pont | À la base de la tête, au-dessus du doigt | Relie la tête à l’anneau, en travers ou à l’intérieur | Aide à déterminer le dégagement pour un anneau droit et le confort en dessous |
| Épaules | La partie supérieure de l’anneau qui approche le montage central | Assure la transition entre l’anneau et la tête | Modifie le support, l’effilement, la couverture du doigt et le style cathédrale |
| Anneau | La bande complète qui entoure le doigt | Porte et positionne la tête | Contrôle l’ajustement, le confort, la rotation, l’usure et les possibilités de mise à taille |
| Griffes | Branches métalliques se terminant au-dessus du bord de la pierre | Maintiennent la gemme dans son siège | Leur nombre, leur orientation et la forme de leur pointe influent sur la sécurité et l’entretien |

Commencez par la tête et le montage
La tête est l’ensemble supérieur qui maintient la gemme centrale. Elle peut comprendre un panier, des griffes, un chaton clos, un halo, un rail de galerie et un travail décoratif de galerie. Le montage peut désigner la méthode qui sécurise une pierre, comme les griffes ou le chaton clos, ou l’ensemble métallique complet. Ces deux usages étant courants, une note personnalisée telle que « faites le montage plus bas » est trop vague. Précisez quelle partie doit être modifiée et conservez les mesures qui ne doivent pas changer.
Un panier est un type d'architecture de tête, et non un synonyme de toute monture. Il forme un cadre ouvert autour du pavillon et donne généralement aux griffes des points de connexion définis. Une tête à picot, en revanche, peut être assemblée comme une unité séparée et fixée à une jonction plus petite sur l'anneau. L'une comme l'autre peuvent être bien réalisées ; la question est de savoir comment la charge se transmet de la pierre à la tête, puis à l'anneau.
Panier, galerie et rail de galerie : les termes les plus confondus
Le panier est le berceau dans son ensemble. Observez-le de profil : la pierre repose au-dessus ou à l'intérieur, les griffes s'élèvent depuis lui, et les éléments inférieurs le relient à la bague. Un panier plus profond peut accueillir une gemme profonde, mais la profondeur seule ne garantit pas le dégagement d'une alliance. Un panier inférieur large peut néanmoins rencontrer un anneau droit.
La galerie désigne communément la région visible de profil sous la pierre centrale. Elle peut être ouverte, géométrique, florale ou ornée de volutes. Le rail de galerie est plus précis : c'est la barre horizontale qui relie les griffes autour de la pierre. En reliant ces griffes entre elles, il peut réduire leur tendance à s'écarter indépendamment. Un halo caché est généralement un ensemble de petites pierres ajouté à cette région latérale ; c'est une décoration sur ou près d'un rail structurel, et non un cercle flottant séparé.

Étude de cas : une galerie ouverte sous le rail
La pierre centrale taille émeraude utilise quatre griffes d'angle, tandis que les pierres latérales effilées mènent vers l'anneau. L'espace ouvert sous le centre améliore l'accès visuel pour l'inspection et le nettoyage, mais la vue de profil nécessite encore suffisamment de métal aux bases des griffes et aux jonctions inférieures.

Pont : la partie inférieure qui modifie l'empilement
Le pont est l'élément inférieur qui traverse le doigt sous le chaton central. Certains ateliers appellent une petite base circulaire un donut. Il peut relier les deux épaules, soutenir le panier ou créer un passage sous la tête. Une alliance droite ne peut s'aligner parfaitement que si sa hauteur et son épaisseur dégagent tout le chaton inférieur, y compris tout panier évasé, base de griffe ou halo bas.
C’est pourquoi « profil bas » et « ajustement affleurant » sont deux promesses différentes. Abaisser une pierre rapproche souvent son pavillon et son panier du doigt, ce qui peut bloquer une alliance droite. Un pont légèrement plus haut peut permettre à une alliance de passer en dessous. Cette géométrie est approfondie dans le guide sur la hauteur des bagues de fiançailles et le confort au quotidien et dans la comparaison des écarts d’alliance et de l’ajustement affleurant.

Étude de cas : concevoir le pont et l’alliance ensemble
Cet ensemble bas et large nécessite une alliance ajustée qui contourne la tête plutôt que de passer à travers. L’exemple montre pourquoi les parures de mariage coordonnées peuvent résoudre une relation structurelle, et pas seulement assortir la décoration.
Épaules : là où le corps de bague rejoint le design
Les épaules sont les sections supérieures du corps de bague à l’approche de la tête. Les épaules droites s’arrêtent bas ; les épaules cathédrale remontent en courbe le long du chaton central ; les épaules fendues se divisent en deux chemins ou plus. Leur rôle peut être structurel, visuel ou les deux.
Une transition d’épaule lisse répartit le poids visuel et peut offrir une connexion supplémentaire au panier. Mais toucher une galerie n’est pas la seule définition d’une construction solide, et une épaule décorative ne doit pas être supposée soutenir une tête à moins que le CAO ne montre une véritable jonction. Demandez une vue de côté et de dessous : l’épaule fusionne-t-elle avec le panier, passe-t-elle à côté, ou s’arrête-t-elle avant ?

Étude de cas : épaules botaniques avec une transition claire
Les détails de feuilles et de vignes commencent sur le haut du corps de bague et guident le regard vers le chaton central. La question utile n’est pas de savoir si les épaules ont un aspect organique, mais où le métal porteur continue sous la décoration.
Corps de bague : la largeur ne représente que la moitié de la spécification
Le corps de bague (ou anneau) est la bande circulaire qui entoure le doigt. Les acheteurs ne précisent souvent que sa largeur vue de dessus, alors que l'épaisseur, la section et l'effilement comptent tout autant. Un corps de bague de 1,8 mm de large peut sembler très différent selon qu'il est plat, demi-rond, à arête vive ou profondément sculpté. La partie inférieure correspond généralement à la zone de mise à taille : des pierres continues, une gravure ou un ajourage complexe peuvent donc limiter les modifications futures.
Un corps de bague étroit fait paraître le centre plus grand, mais il peut aussi laisser une tête lourde pivoter plus facilement. Un corps inférieur plus large ou plus massif peut sembler plus stable. Le confort dépend de la taille de la bague, de la forme des articulations, des anneaux adjacents et de la finition des bords, et non d'un minimum universel. Lorsque vous étudiez des idées de bagues de fiançailles sur mesure, notez la largeur et l'épaisseur finies au niveau de l'épaule, du point médian et de la base, plutôt que de demander un modèle « délicat » ou « fin ».

Étude de cas : un corps de bague effilé modifie le poids visuel
La bande se rétrécit à l'approche du cluster allongé, ce qui allège la composition centrale. Dans une version sur mesure, le CAO doit toujours indiquer la largeur finie la plus étroite et montrer où commence l'effilement.
Griffes : de petites pièces au rôle précis
Les griffes, aussi appelées crochets, s'élèvent autour de la pierre et se replient sur sa couronne ou son bord. Leur sécurité dépend de l'assise, du contact, du métal restant et de l'orientation, et pas simplement de l'aspect volumineux de la pointe. Les pointes rondes ont un rendu traditionnel, les griffes fines paraissent plus vives, les griffes doubles soulignent les coins et les griffes en V protègent les points vulnérables des poires, des marquises et des tailles angulaires.
Quatre griffes dévoilent davantage la pierre ; six créent plus de points de retenue et peuvent préserver un contour rond. La comparaison officielle du GIA entre les montures à quatre et à six griffes souligne l'avantage de sécurité des six griffes lorsqu'une griffe est endommagée. Cela ne signifie pas que six griffes soient obligatoires pour chaque pierre. La forme, la taille, l'état du rondis, le design du panier et le mode de vie comptent tous. Le serti clos est un système entièrement différent ; les différences pratiques sont détaillées dans le guide des compromis entre serti clos et serti à griffes.

Comment examiner l'anatomie d'une bague sur un modèle CAO personnalisé
- Vue de dessus réelle : vérifiez l'orientation des griffes, la symétrie des épaules, l'effilement et l'envergure totale du design.
- Vue de côté réelle : repérez le siège de la pierre, le rail de galerie, la profondeur du panier, le pont et la hauteur totale.
- Vue de dessous : examinez comment la tête rejoint le corps et où l'accès pour le nettoyage reste possible.
- Coupe ou dimensions : notez la largeur et l'épaisseur finies du corps en plusieurs points.
- Vue d'assortiment avec l'alliance : placez l'alliance prévue à côté de la bague de fiançailles à sa hauteur et son épaisseur réelles.
La liste de contrôle pour la validation d'un modèle CAO de bague personnalisée plus complète explique comment vérifier l'échelle, le profil et les relations avec l'alliance avant la production.
FAQ sur l'anatomie d'une bague de fiançailles
Un panier est-il identique à un rail de galerie ?
Non. Le panier est la structure complète qui enserre la pierre. Un rail de galerie est un support horizontal à l'intérieur ou autour de cette structure qui relie les griffes. Certains vendeurs emploient ces termes de façon imprécise ; confirmez donc la pièce concernée sur une vue de côté.
Toute bague de fiançailles a-t-elle besoin d'un rail de galerie ?
Aucune construction unique ne convient à toutes les bagues. Le besoin dépend du nombre de griffes, de la taille et de la forme de la pierre, du design de la tête, des points de fixation et de l'usage prévu. Si un design omet le rail, demandez comment les griffes sont stabilisées et comment la tête se raccorde au corps.
Un pont garantit-il qu'une alliance affleure ?
Non. L'alliance doit dégager le pont, le panier, les bases des griffes et tout halo éventuel. Jugez les deux bagues ensemble, de côté, à partir des dimensions réelles.
Quelle partie d'une bague est mise à taille ?
Généralement le bas du corps, à l'opposé de la tête. Des pierres, une gravure, un ajourage ou une section transversale inhabituelle à cet endroit peuvent limiter l'ampleur des modifications possibles.
Que dois-je inspecter en premier sur une bague terminée ?
Vérifiez que la pierre ne bouge pas, que les griffes exercent un contact régulier, que la tête est bien droite, que les arêtes exposées sont lisses et que les anneaux adjacents ne frottent pas contre les griffes ou les pierres d'accent. Un contrôle professionnel périodique reste utile, car l'usure se développe progressivement.
Connaître l’anatomie d’une bague de fiançailles ne signifie pas imposer la façon dont chaque bague doit être conçue. Cela permet plutôt de remplacer des préférences ambiguës par des relations observables. Une fois que le panier, le rail, le pont, les épaules, l’anneau et les griffes ont un sens clair dans le modèle précis, les décisions de personnalisation deviennent plus faciles à examiner et l’entretien futur plus simple à aborder.